DIY Butterfly Pop-Up Card Project
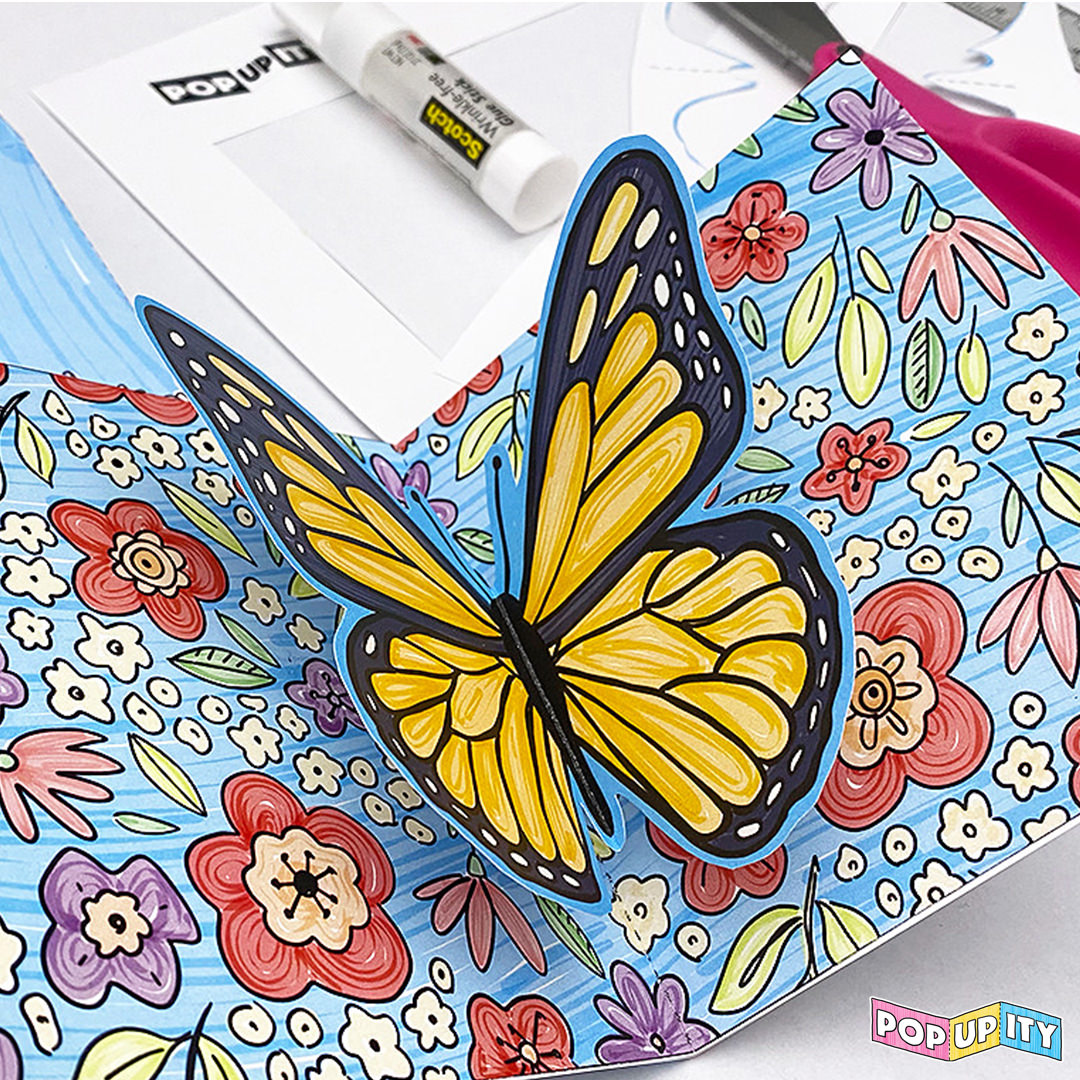
DIY Printable Template and Tutorial. Bright spring flowers cradle this butterfly as it gently flaps its wings upon opening the card. The template offers several sentiment options for the cover: Mother’s Day, Birthday, Hellow Spring, Thank You, and Thinking About You. Make this card with simple craft tools (paper, scissors, and glue) – perfect for all skill levels.
Size: 5.2 x 4.4 in / 132 x 112 mm (card opens on long edge)
How to Make the Monarch Butterfly Pop-Up Card:
- Download & Print the Template – Open the template (.PDF) and print on white card stock. 65lb weight cardstock feeds easily thru most printers and is thick enough to support the pop-up movement. Use the thickest cardstock your printer can handle.
- Score the Folds – with a ruler and your favorite scoring tool, score along all dashed lines on the butterfly, inner card, and outer card. Scoring intents the paper with a groove and guides it where to crease.
- Cut the Pop-Up Support – with a craft knife, cut along the solid lines marked on the inside card. A cutting mat under your paper will help control the knife while cutting with the blade.
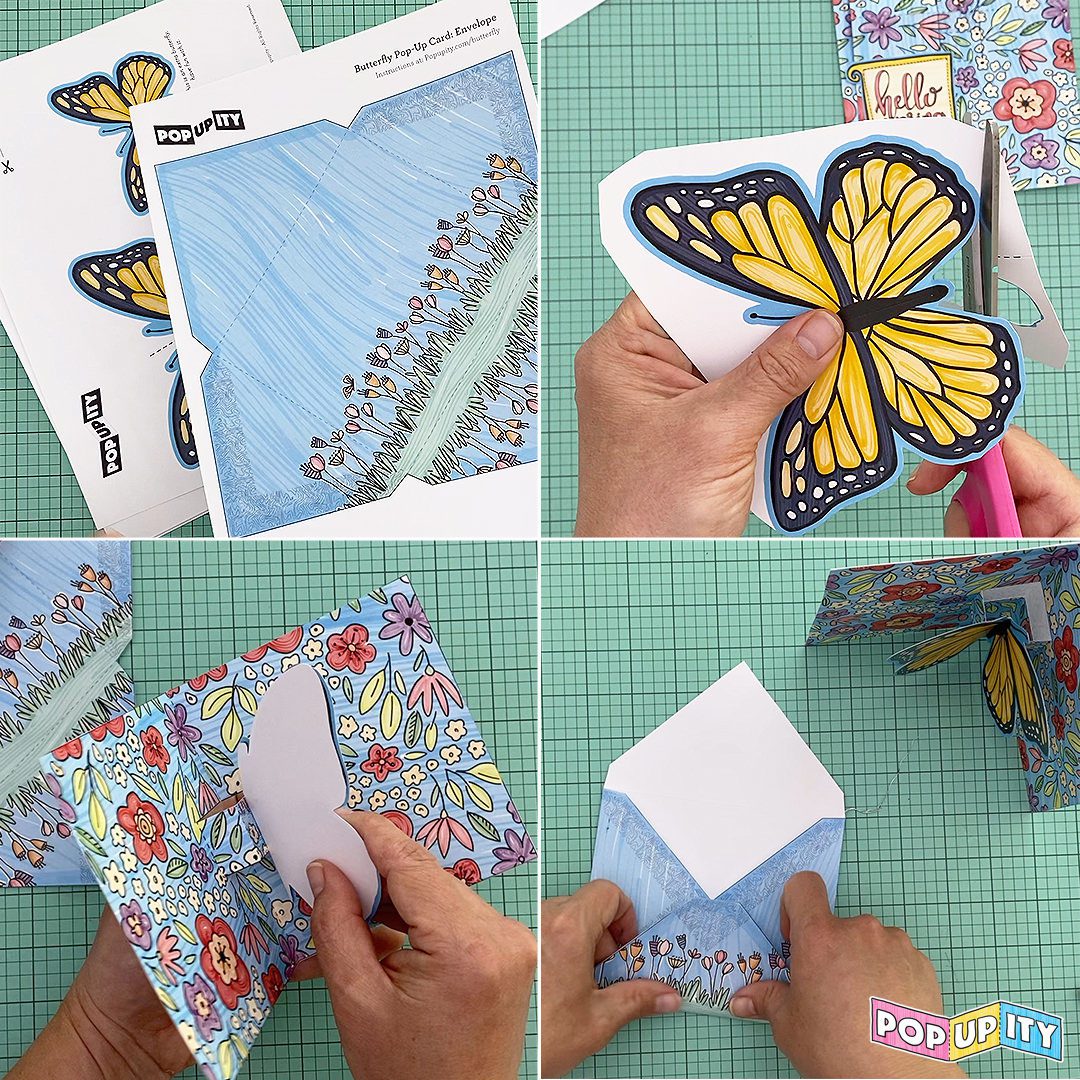
- Cut Out the Butterfly & Cards – with scissors, cut out the large butterfly following along the blue area as your line. Cut the rectangular-shaped inner and outer card pieces.
- Fold the Pop-Up Support – Carefully begin to fold the pop-up support on the inner card in the shape of a ‘W.’ Fold the center crease on the outer card. Crease all folds with a bone folder.
- Attach Butterfly – Fold the butterfly along the center line and crease with a bone folder. Open the wings, apply glue to the ‘W’ on the inside card, and attach the butterfly aligning both folds.
- Glue Inner & Outer Cards Together – Apply glue to the back of the inner card and attach it to the outer card. Line up the folds on both cards and double-check it’s not upside down!
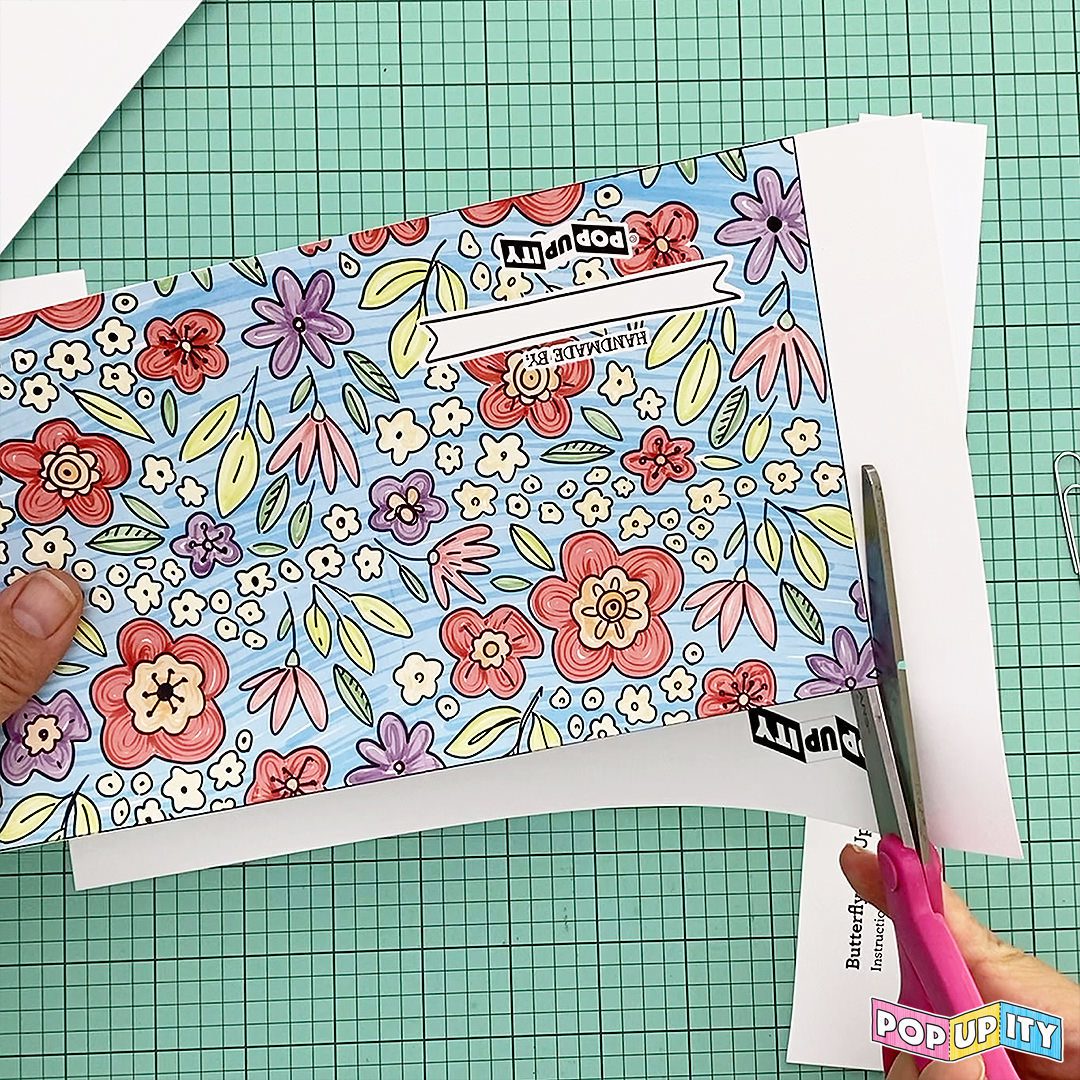
- Trim the Edge – Check the edge of the card for any missed alignment. Trim with scissors to clean up the edges.
- Make the Matching Envelope – Score along the dashed lines, then cut out the envelope with scissors or a craft knife. Fold and crease flaps inward to form the envelope. Glue the two side flaps and bottom flaps together, insert the card, and seal the envelope. Tip: It’s easier to address the envelope before inserting the card.